An update then from a couple of days ago - which you can read about here - https://arwensmeanderings.blogspot.com/2021/12/winter-maintenance-projects.html
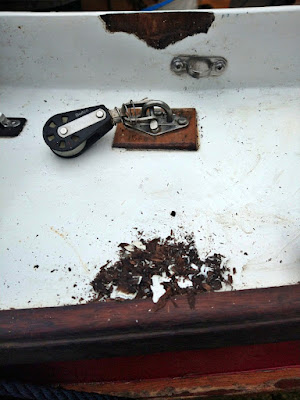
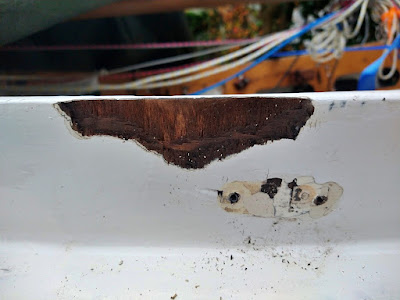
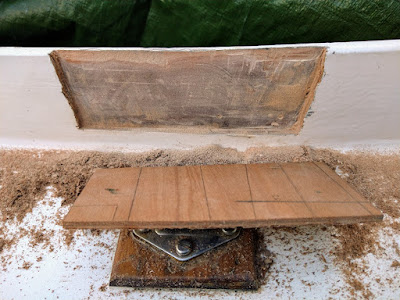
Listening to both John Welsford and Howard Rice - I opted for the safe approach and used both a utility knife and a multitool saw to remove the damp timber. As John predicted, the damp went further down and across that initial glances would have suggested. As more timber got cut away, my idea of just filling with layers of thickened epoxy slowly disappeared. On a bright note, I'm far more skilled with a multitool than I realised 😁. the coaming is only 8mm thick and I was having to remove 4mm thickness from it!
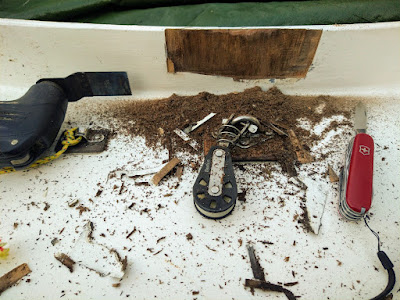
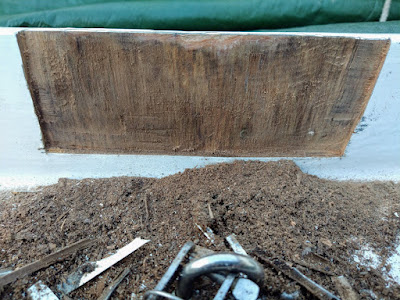
Fortunately, a rummage around the old scrap timber box found a piece of ply just about the right size, shape and thickness required. It also flexed in the right direction as well. I sanded out the cut away areas and made sure that the edges were trimmed straight and sharp. Then by trial and error, I shaped the wood to fit, using my beloved Japanese handsaw to cut away tiny slivers until the shape as just about right. I did a three test fits using the clamps to make sure all was secure and correctly butted together. There was a 3mm gap at one end, the bottom edge had a 1.5mm gap and the other end had a 2mm gap as well. Not bad I guess.
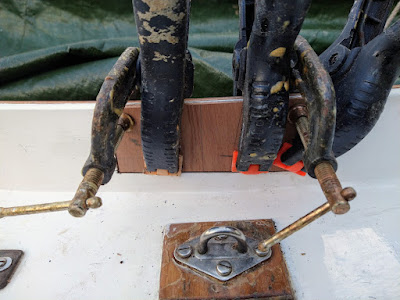
My final task before gluing up was to sort out the gluing areas. Preparation is always the key and I laid down layers of duct tape and masking tape around the area to be bonded together to catch an excess dribbles. In my experience there are ALWAYS dribbles!
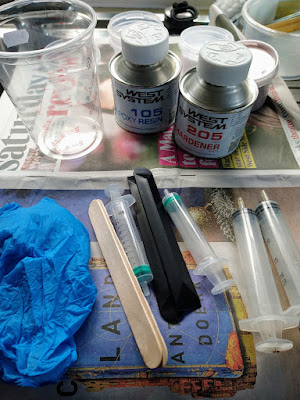
It has been many years since I last used epoxy resin and I was almost sure I had forgotten the basics but I worried unnecessarily. I warmed it up in the kitchen for an hour or so and then used syringes to measure out the five to one ratio of mix. Wetting out the 'hole' making sure enough epoxy stayed on after some had soaked into the grain, I then thickened the mixture slightly to coat the back of the wood insert piece (and its edges).
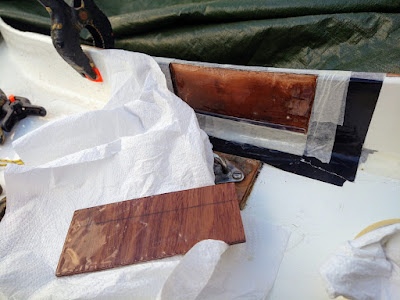
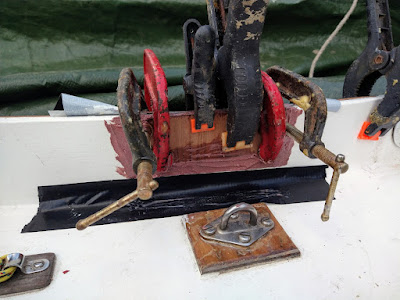
I eased the wood insert into place and slowly applied the top corner clamps followed by the bottom ones. The key is to have enough pressure to hold but no so much as to squeeze out the epoxy. I then went around the three joins and made sure that any gaps were filled with really thickened epoxy.
The temperature today is 11 - 12C and I am worried it will be a little cold. I know it will cure at 5C but just take ages. Because I am having to work outside on the driveway alongside a public pavement, it is difficult to rig heat lamps of any form. So this is 'wing and prayer' stuff really.
With a bit of luck, sometime tomorrow afternoon it should have sufficiently cured that clamps can be removed and some basic tidying up and sanding done. I suspect I will have to do some fairing work on Saturday to blend everything in. After that, three coats aluminium paint, three of pre-kote and three international Toplac. This is the paint system across Arwen's entire hull interior and exterior and it has lasted thirteen years thus far with only minor touch ups needed in a few places.
In the meantime, most of the surrounding tape has been peeled off leaving nice clean fill lines. So far, so good. I've surprised myself. But lets not count chickens and all that quite yet!
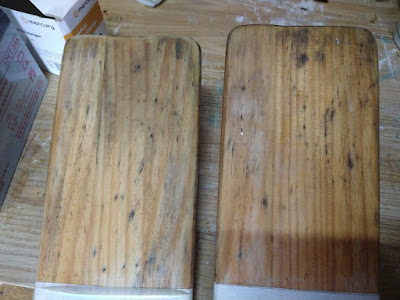
I then turned attention to the oars - sanding back the ends of the blades ready for some epoxy work in to the splits. This time I will also fibre glass the ends of the blades as well to protect them a little more. That is Saturday's job. Someone on FaceBook suggested that I use a hoover to suck the epoxy through the splits - nice idea - will give that a go. I mean what could possibly go wrong with me, epoxy and a hoover? 😅


No comments:
Post a Comment