10 years ago
I make no apologies for this. Arwen's meanderings is overwhelmingly a blog about Arwen, my John Welsford designed 'navigator'. I have a separate blog about our motorhome adventures in 'Bryony' our autosleeper broadway EB. If you are interested in motorhoming you can find this blog at www.wherenexthun.blogspot.co.uk

Now occasionally, and by occasionally I mean 'not at all that often', and 'mainly during winter months when sailing is almost impossible due to inclement weather', I will post about my stargazing activities. This is because I rarely post about them and don't want to set up a third blog! Two is enough!
The weather has been inclement. I haven't had an opportunity to get out on Arwen and although I post mainly about astronomy on my Facebook account, I have a few friends who don't use facebook but are interested in my astronomy and so I post occasionally here where they can subscribe to it. They ignore all the boat posts as none of them are boaty 😂
Anyway, if you aren't into astronomy, ignore this post! Normal boaty stuff will resume in next one.
I have got into astrophotography in a big way. I'm a complete newbie at it - so many silly errors but the Facebook astrophotography groups I am a member of, like the sailing ones I enjoy, are a tolerant, kind and supportive bunch and go out of their way to help newbies.

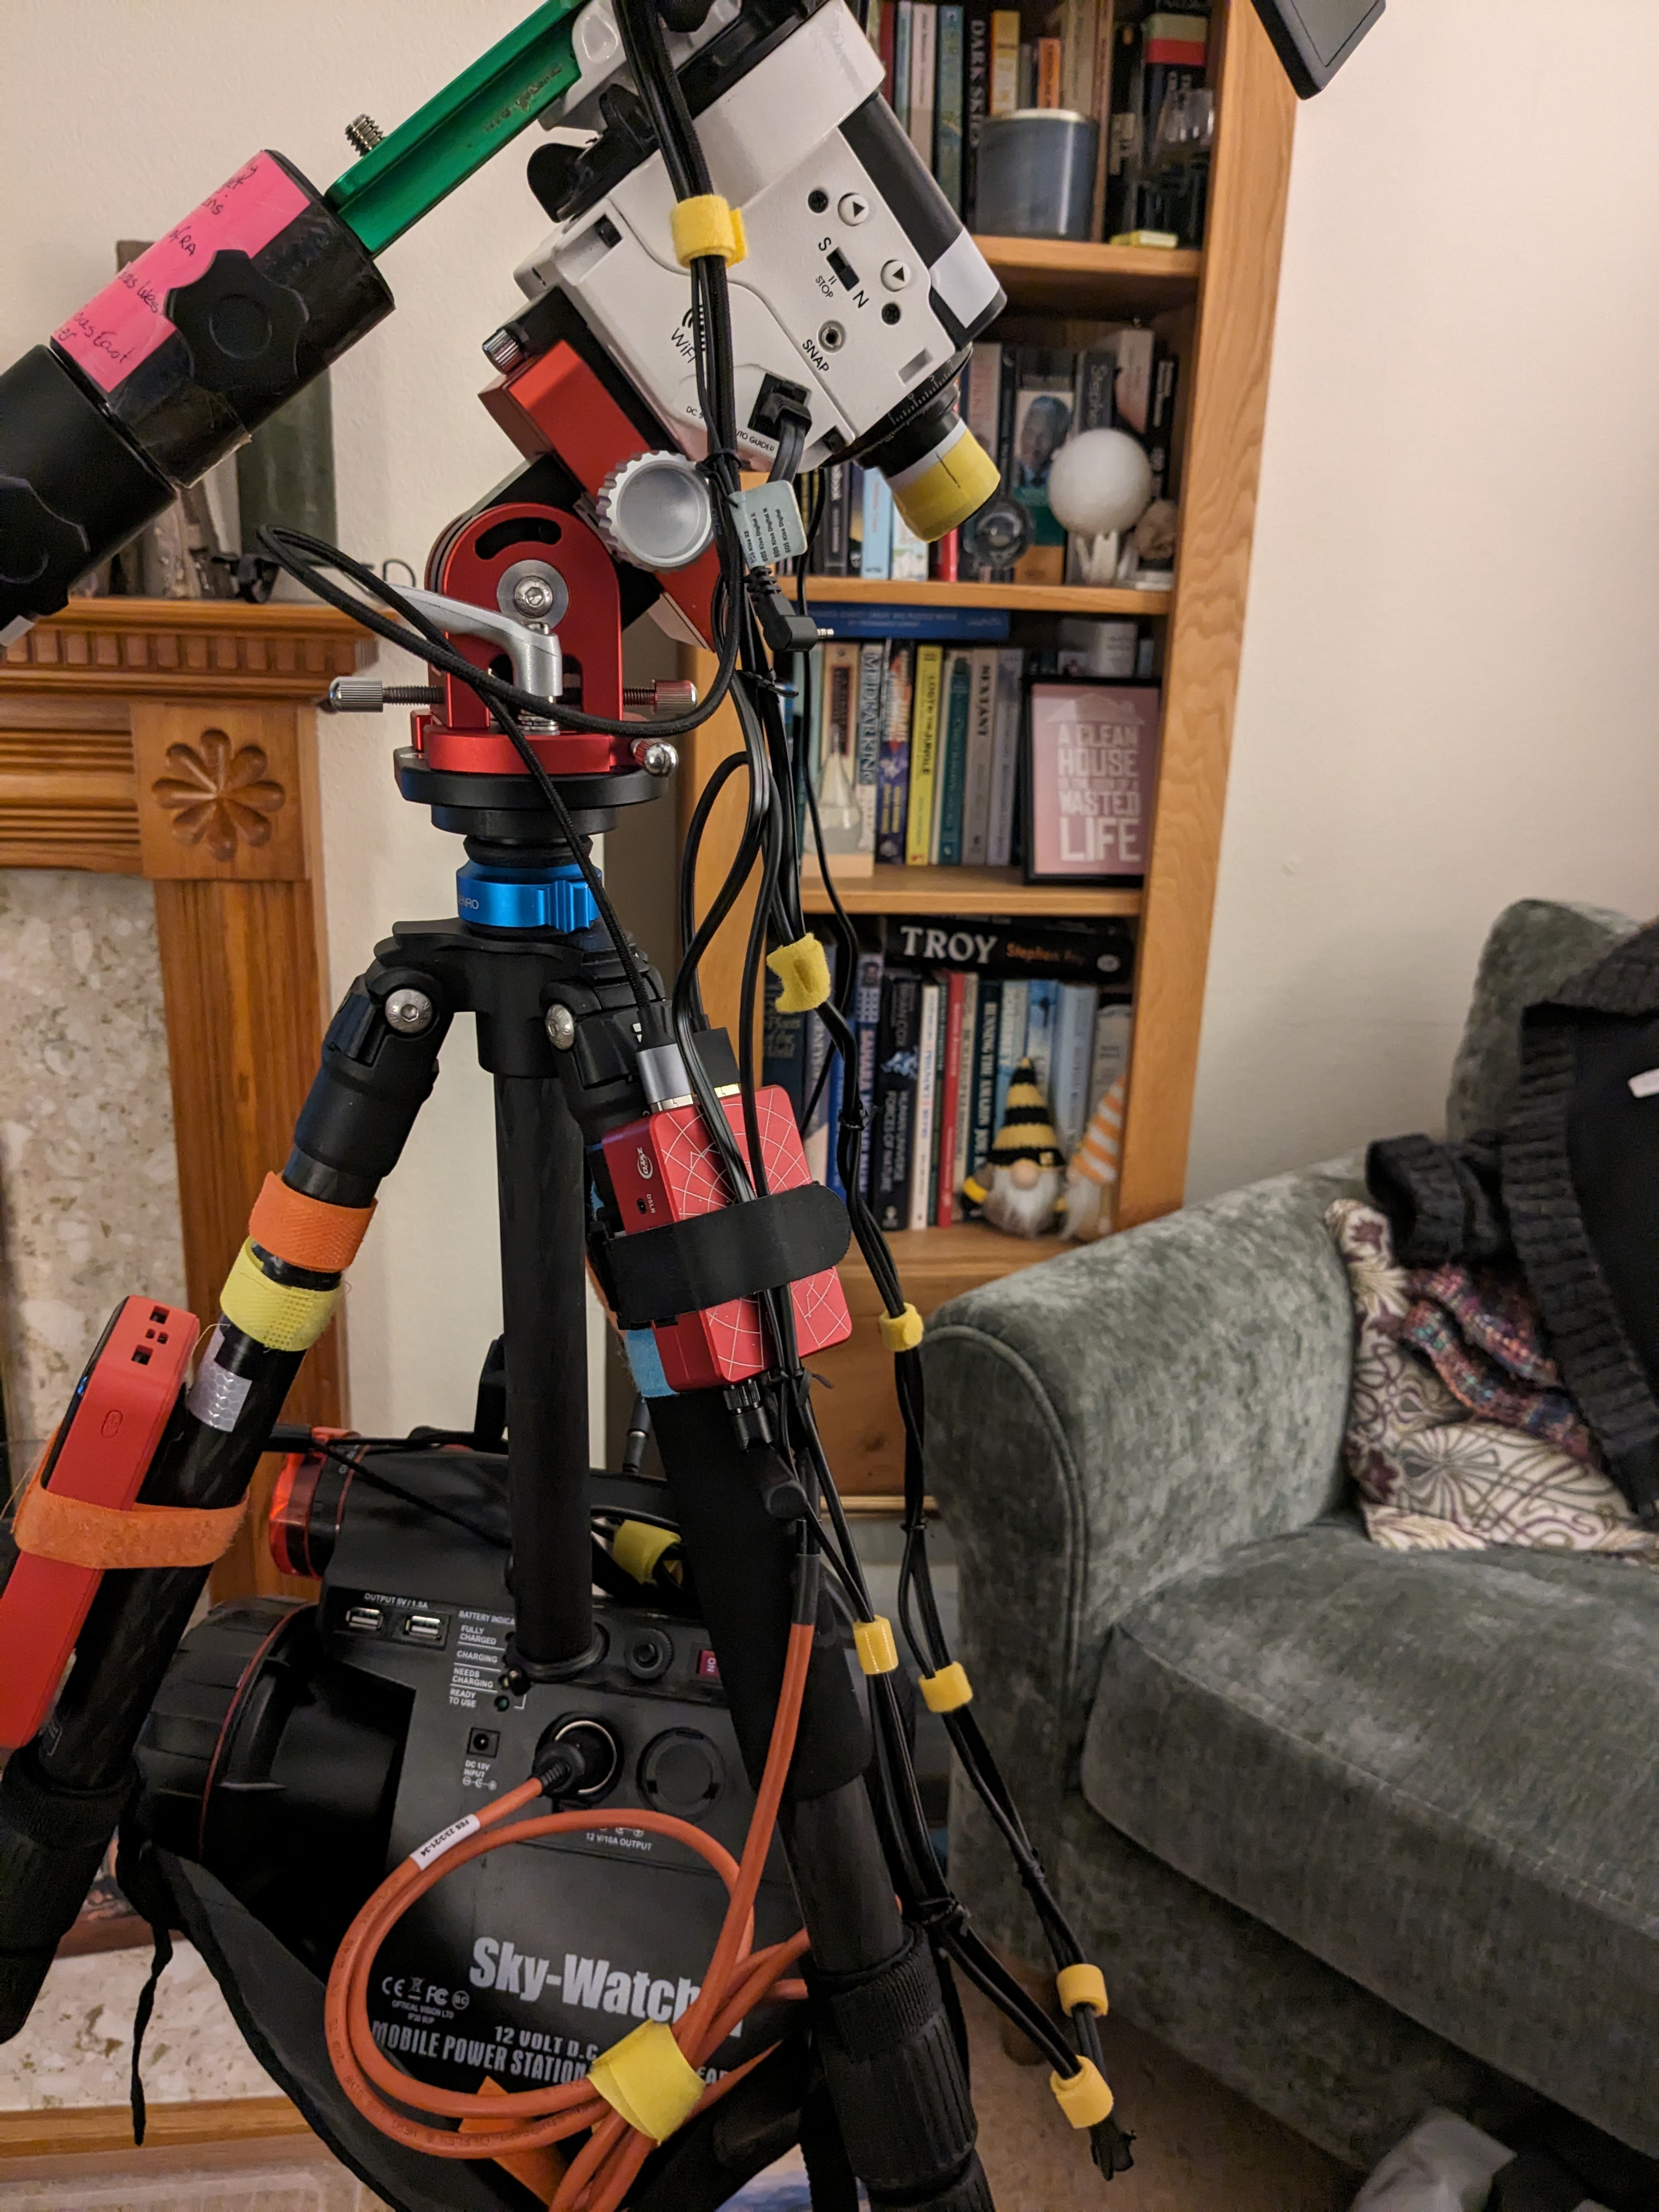
I have recently upgraded my kit to the following: (bold are new additions)


Using
ASIair mini and autoguiding with SWSA 2i
A .
setting up mount
1. Polar alignment – level tripod – polar line MANUALLY
(tracker off)
2. Balance - counterweights RA and DEC - green dovetail as low as poss on mounting plate of SWSA
3. Take test shots – with main camera and Bahtinov mask
on - slew to target for night – East heavy - and test shots –– tape focus ring
4. Recheck focus and then Star safari – get co-ordinates for night’s target
5. Connect cables to Asiair - CHECK TEMP
FOR NIGHT – PROTECT
ASIair MINI IF BELOW 0 degrees – BUBBLE WRAP?
6. Power up ASIair and check plate
solving works – annotate
to see Polaris;
7. Check gain and focus guide scope
camera (gain 60 – 70) focus in focus mode; give settling time – manually adjust until star size
low and peak value high) (To focus the guidescope I found I had to switch off the guide cam - then switch off the main camera. Then go back to main camera settings and select guide cam as the main cam - put in correct focal length of guide cam. Then under main camera in preview take some test shots and adjust your guidescope until it is correctly focused. when this is achieved, go back through all the settings and return them to what they should be i.e. your main camera is your DSLR with correct focal length entered; your guidecam is whatever guide cam you are using with correct Focal length; and the mount is switched on)
8. Test photo – annotate to check
polaris in frame – cross hairs on
9. Plate solve for Polaris should be – RA 2h 31m 47s Dec +89D
15’ 50”
10. Now polar align within ASIair app (tracker
ON) - mount to home
position – aiming for less than 30” and smiley face – slew to between 60 degrees - follow PA instructions in app.

B.
start the plate solving process
1. Check that PA is still accurate - if not start again
2. Slew to target for night
3. Select guide interface LHS - Tap
plate solving –
check target in position - tap clear calibration
4. tap preview – tap plate
solving
5. Adjust RA and DEC – use 5” exposures – increase to 10”
if need be – repeat until close to coordinates for tonight’s target – test
shot after each move – adjust RA first! Hit cancel when adjusted
and then repeat for DEC
tips - Carry out az/dec adjustments – after each refresh, wait 3” and refresh again before next adjustment to allow vibrations to settle down - try to work away some distance from tripod to prevent ground vibrations. Aiming for less than 10” error
C.
start the autoguiding focus/calibration
1. Focus Guide scope and auto-guide camera – NOT
ON POLARIS AREA – go to DSO target
2. Clear calibration tab – top right corner graph
3. Double tap graph – guiding screen – check
DEC IS OFF; or guiding settings
4.
3” exposure zenith 2”(gain 60 – 70)
(can take 5 to 10 mins for calibration)
5. Try calibration step of 5000 not 2000
– see side box
6. Start calibration - if ASIair doesn’t choose star – increase the
gain for guide camera – aim for star peak of 80 – 200 for proper lock on
If number of steps <4 –
calibration = poor - adjust
calibration step to smaller number in the guide menu
If number of steps too many – ASIair
wont reach 25 px in reasonable time – you get a time out message – so adjust calibration to
larger number - try 5000
If imaging towards zenith – increase
calibration step
Don’t
pick brightest star for green box – mid level bright star best – tap on chosen star – green
box appears (Aim to minimise star halos when focusing) Then click crosshairs icon
If DEC red
line jumps off graph = poor polar alignment – redo. Aiming for +/- 4 on RA line.
If graph jumpy – decrease RA aggressiveness in guiding tab
E. set
up auto run/main camera settings
1.
preview – autorun
2.
first delay 15” – interval 3” – set up for 1 image only; put in target
3.
when image appears on screen – zoom in and check no star trailing – if
unclear go back and refocus main camera and then start from C above
4.
set up auto run details for night
- fill in target etc
5.
lights info - AVOID MERIDIAN FLIP – DO CALCULATIONS OF
EXPOSURE TIME TOTAL - work out how many
lights required before meridian flip – enter data - press autorun
Tips:
DO EXPOSURES
IN 20 – 30 MIN BLOCKS
At end – repeat main camera focusing procedure – preview – test shots x 3” – zoom in on screen and check sharpness and adjust main lens focus accordingly. Repeat autoguider refocusing procedure. Adjust for temperatures changes