Arwen's meanderings

Hi everyone and welcome to my dinghy cruising blog about my John Welsford designed 'navigator' named Arwen. Built over three years, Arwen was launched in August 2007. She is a standing lug yawl 14' 6" in length. This blog records our dinghy cruising voyages together around the coastal waters of SW England between 2009 and 2025.
Arwen has an associated YouTube channel so visit www.YouTube.com/c/plymouthwelshboy to find our most recent cruises and click subscribe.
Although 'Arwen' has now been sold to another family and is sailing in new water, this blog will remain a source of inspiration and information for those interested in dinghy cruising and sailing the local waters around Plymouth Sound. So, continue to drop us a comment or ask a question and happy sailing and fair winds to you. Steve and Arwen
Steve and Arwen

Showing posts with label split oars. Show all posts

Sunday, 19 December 2021

Whilst waiting for paint to dry........

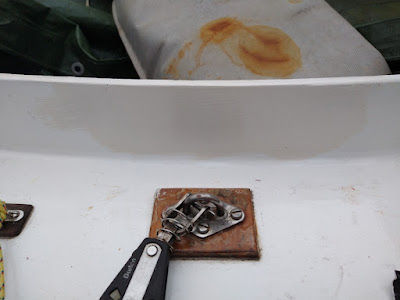
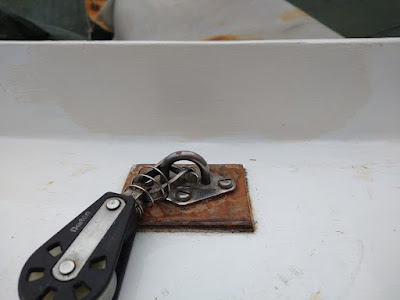
 A progress update - after three undercoats - here is the coaming repair  - just three top coats of International Toplac gloss to go

Can barely see where I had to cut out huge chunks of wet rot and insert a new piece of ply!!
(see previous posts for that saga)


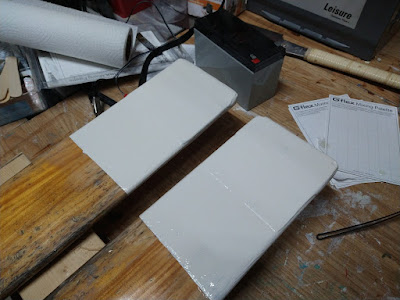
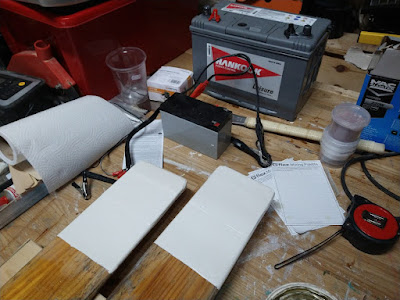
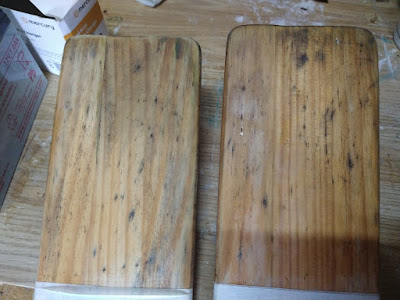
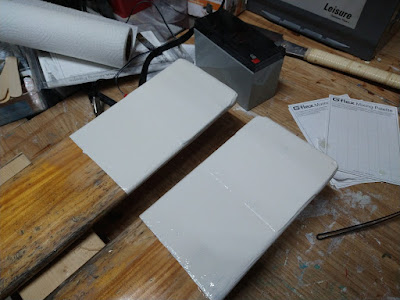
The split oars are in the same place - three undercoats and now awaiting three top coats and then a sanding of the varnished looms before three coats of new varnish


In the meantime, whilst waiting for paint to dry (not really but hey.....I need a weak excuse for posting the stuff below), I have been trying to get to grips with more astrophotography. On the one hand I am getting better at taking images with my small star tracker and a DSLR. Sadly, my two telescopes were not designed for doing astrophotography and whilst I really enjoy doing the observing bit, it is frustrating not being able to use them for any imaging other than a few grainy shots of the moon. 

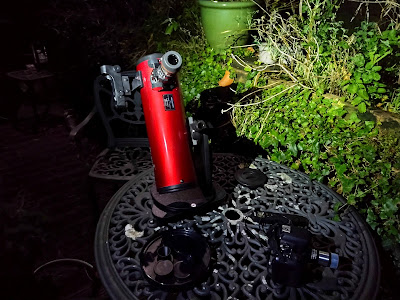
Above my table top beginner's dobsonian - Skywatcher Heritage 100
and below
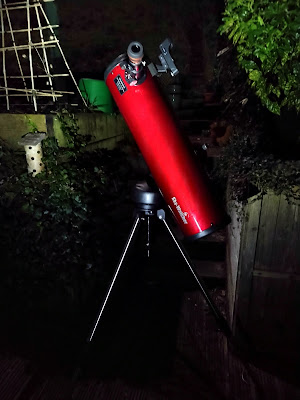
my 150mm/750mm GOTO newtonian telescope - a skywatcher discovery 150i WIFI 

The real steep learning curve though is in the learning how to post process the images I collect. I am trying to get to grips with specific stacking software such as Deepskystacker and then with general photography processing software - affinity photo. I am getting there and have learned heaps in the last few days but it is hard work! 

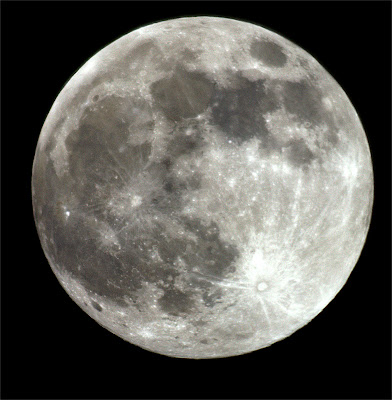
Taken on the Heritage 100
I managed to botch together my basic DSLR, the end of a x2 Barlow lens, a small moon filter and a universal 1.25" T tube 

Taken on my 150mm scope using my DSLR and a x2Barlow lens

My first effort at processing the Rosetta nebula taken on someone else's telescope.
The pink colours are wrong - it should be more reddish due to the hydrogen gas clouds. 
This is where I still have lots to learn about workflow and skills using affinity photo

Shouldn't be too hard on myself - I managed to get this on my small star tracker.
It is processed in affinity photo but since I did this one a few months ago - I have learned heaps - so I might give the original data another going over. This is M45 Pleiades  by the way 

Life long learning eh? 😀

Saturday, 18 December 2021

Split oars and fibre glassing oar tips

 I noticed a split in one oar so I needed to do a repair. They are rather battered oars and have seen better days but I tend to use them as temporary ones on Arwen until such time as I build a proper portable rowing seat and alter the rowlock blocks to accommodate my longer oars that I built a couple of years ago. You can find details about those oars here https://arwensmeanderings.blogspot.com/2019/04/building-oars-for-john-welsford.html

This is the starting post - there are several about making my new oars and testing them out. 


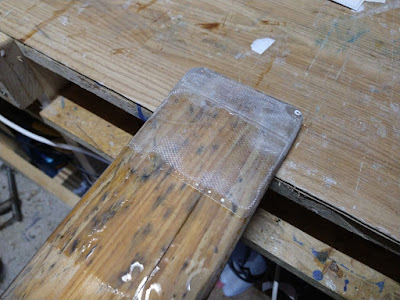
Anyway, back to the temporary ones! The split. A rushed repair, because I am hoping to sail next week. I sanded the broken areas to remove any old varnish and then on the split oar. I then cut some fibreglass tape I had over from another project long ago into strips - one I used to go across and around the blade tips - cutting darts into the cloth at each end so that it would correctly.

After doing the cloth and mixing up epoxy, I knocked in the tip of a thin flat screwdriver blade to prise the crack apart further. Trickling epoxy into the crack was difficult and I used a trick recommended to me by someone on one of the dinghy cruising Facebook forums; namely to use a shop vac - hoover in the UK - on the underneath of the crack. The suction pulled the epoxy further into the crack. It actually worked!

The cloth tips were put on and wetted out and folded over correctly . I added a little more epoxy on each side to ensure the cloth wouldn't dry out. It is a balancing act - too much and the cloth 'floats' off; too little and it dries out and there are areas where no epoxy takes. 

Its rough and there are ridges even after sanding 

Another strip was then butted up to the first on each side of the blade as well. The issue here would be the join line - because of the nature of the cloth - the butt between them would be slightly raised which would require sanding later ad possibly some fairing in. 

The end result?

The cloth and epoxy set correctly. No dry parts; no floating away from position. I trimmed off all he rough edges using my multitool saw blade and then sanded each blade. As I suspected, there was a ridge between the two sets of cloth and sanding just wouldn't remove it. 

It was now that I discovered that I have no fairing compound. I thought I did, but alas none to be found on the epoxy shelves.  After a few minutes reflection, I have decided to leave it as it is. I have sanded it all as smooth as possible but getting fairing compound now with only a few days to Christmas will be difficult.  With Omicron spreading rapidly in Plymouth and our area now one of the highest affected areas in the UK, we are trying to avoid any unnecessary contact with others so that we dont have to self isolate over the Christmas period, jeopardising plans with family. 

They are temporary oars and a rough-ish job will do. The first undercoat has gone on. I will paint the tips five coats of paint and then sand and re-varnish the oar looms and top parts of the blades.