
It started with some ideas. These were put out for 'consultation' via Facebook forums.
There were many, many helpful suggestions and observations.
I employed CAD techniques (cardboard aided design) and made several mock ups, each one evolving after helpful Facebook discussion.
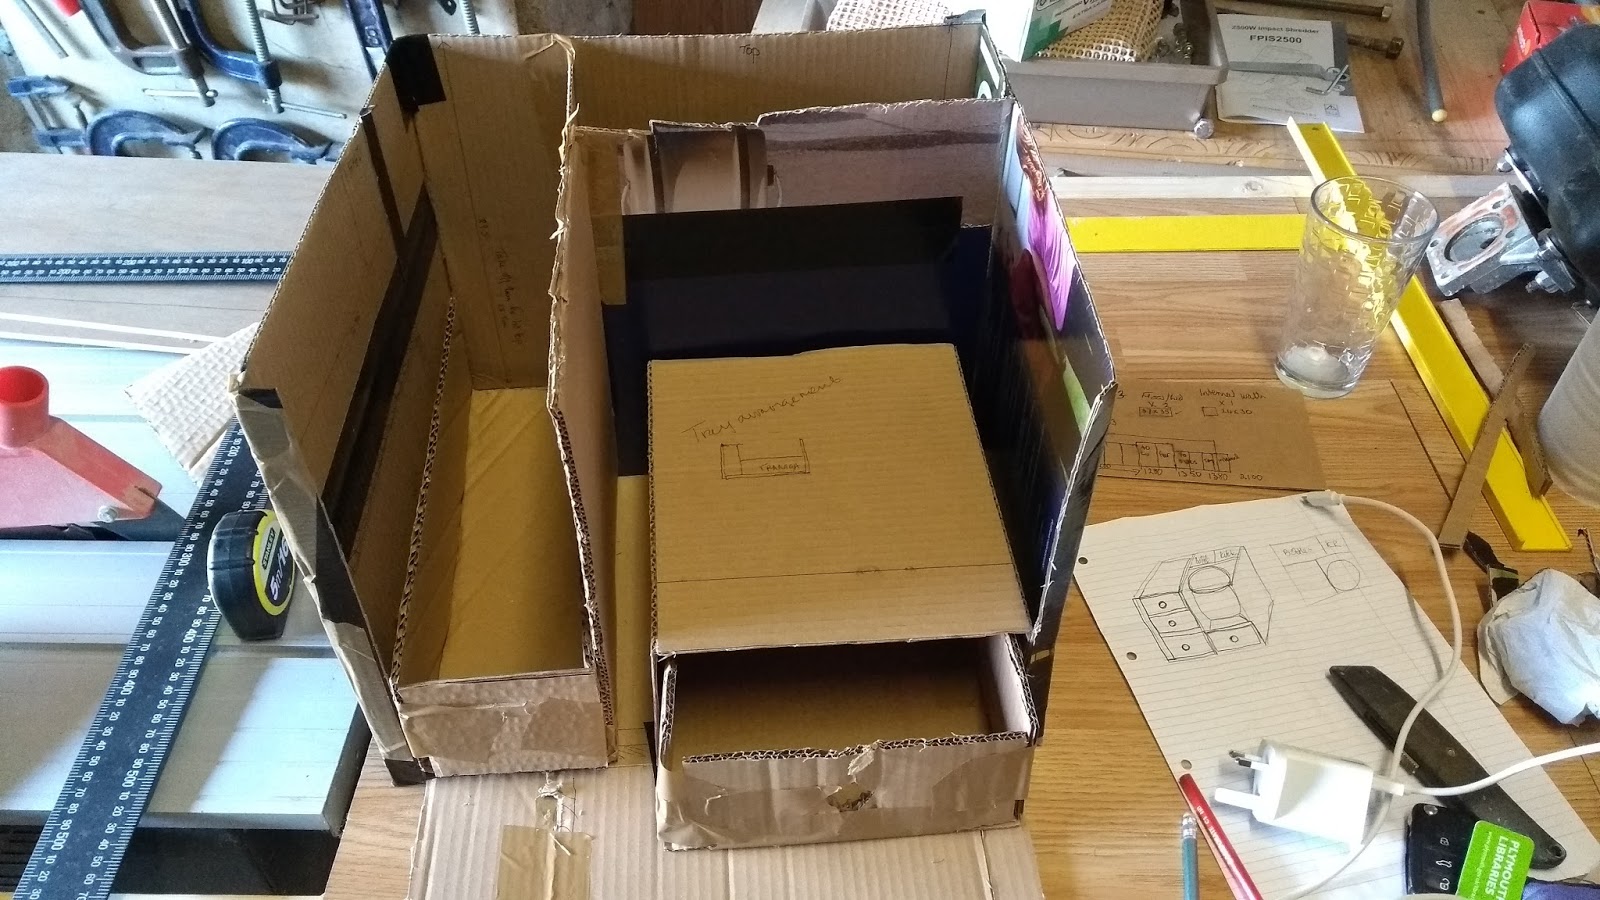
I revised several times the aims of what I wanted to achieve; these limited by space and weight considerations. Eventually, the design clarified itself.....a simple galley box to carry stores for two or three days plus cooking and eating equipment. My thanks to all those who helped edit my lists, modify my ambitions, and who brought a realistic pragmatism to my thinking.

The first measurements were made and then rechecked many, many, many times. Several gallons of tea were consumed during the intervening breaks between re-measurements. Much time was spent sat on 'Rodin's stool' in the garage musing; and then measurements were checked again.
It seems to have gone much better thus far and I think I know why. I haven't rushed at it. In the past pressures of time and family commitments have made me rush and in doing so I have made mistakes. But now those time pressures are a thing of the past and I am enjoying it more, thinking about it more. A simple measurement can take as long as it needs, or as long as I like it to last. Wonderful!
The band saw got a much needed clean and overhaul. A new blade, retaining band blocks altered, smoothed and turned over; band saw retaining wheels cleaned; a decade of sawdust removed from inside workings. The saw was re-levelled; the platform re-levelled. It felt good. And then the first cuts were made and they went true and straight.


Edges were lightly sanded and set squares employed to make sure that corners were true. Sadly, I came to the realisation that my old jigsaw of 20 years had seen better days. Another tool which has done sterling service but now needs to be retired. Even with new blades, the cut is slightly jagged; the motor strains; the little blower is intermittent and the support frame slightly rusted. Perhaps with another clean, I can get a few more years out of it yet. My jigsaw has been instrumental in the building of several kayaks, canoes and Arwen herself. My jigsaw deserves a reprieve and I am a sentimental old fool too!

Several cuppas later.........and no I'm not a fan of the company on the cup but it was a present and I rather like the dragon.............

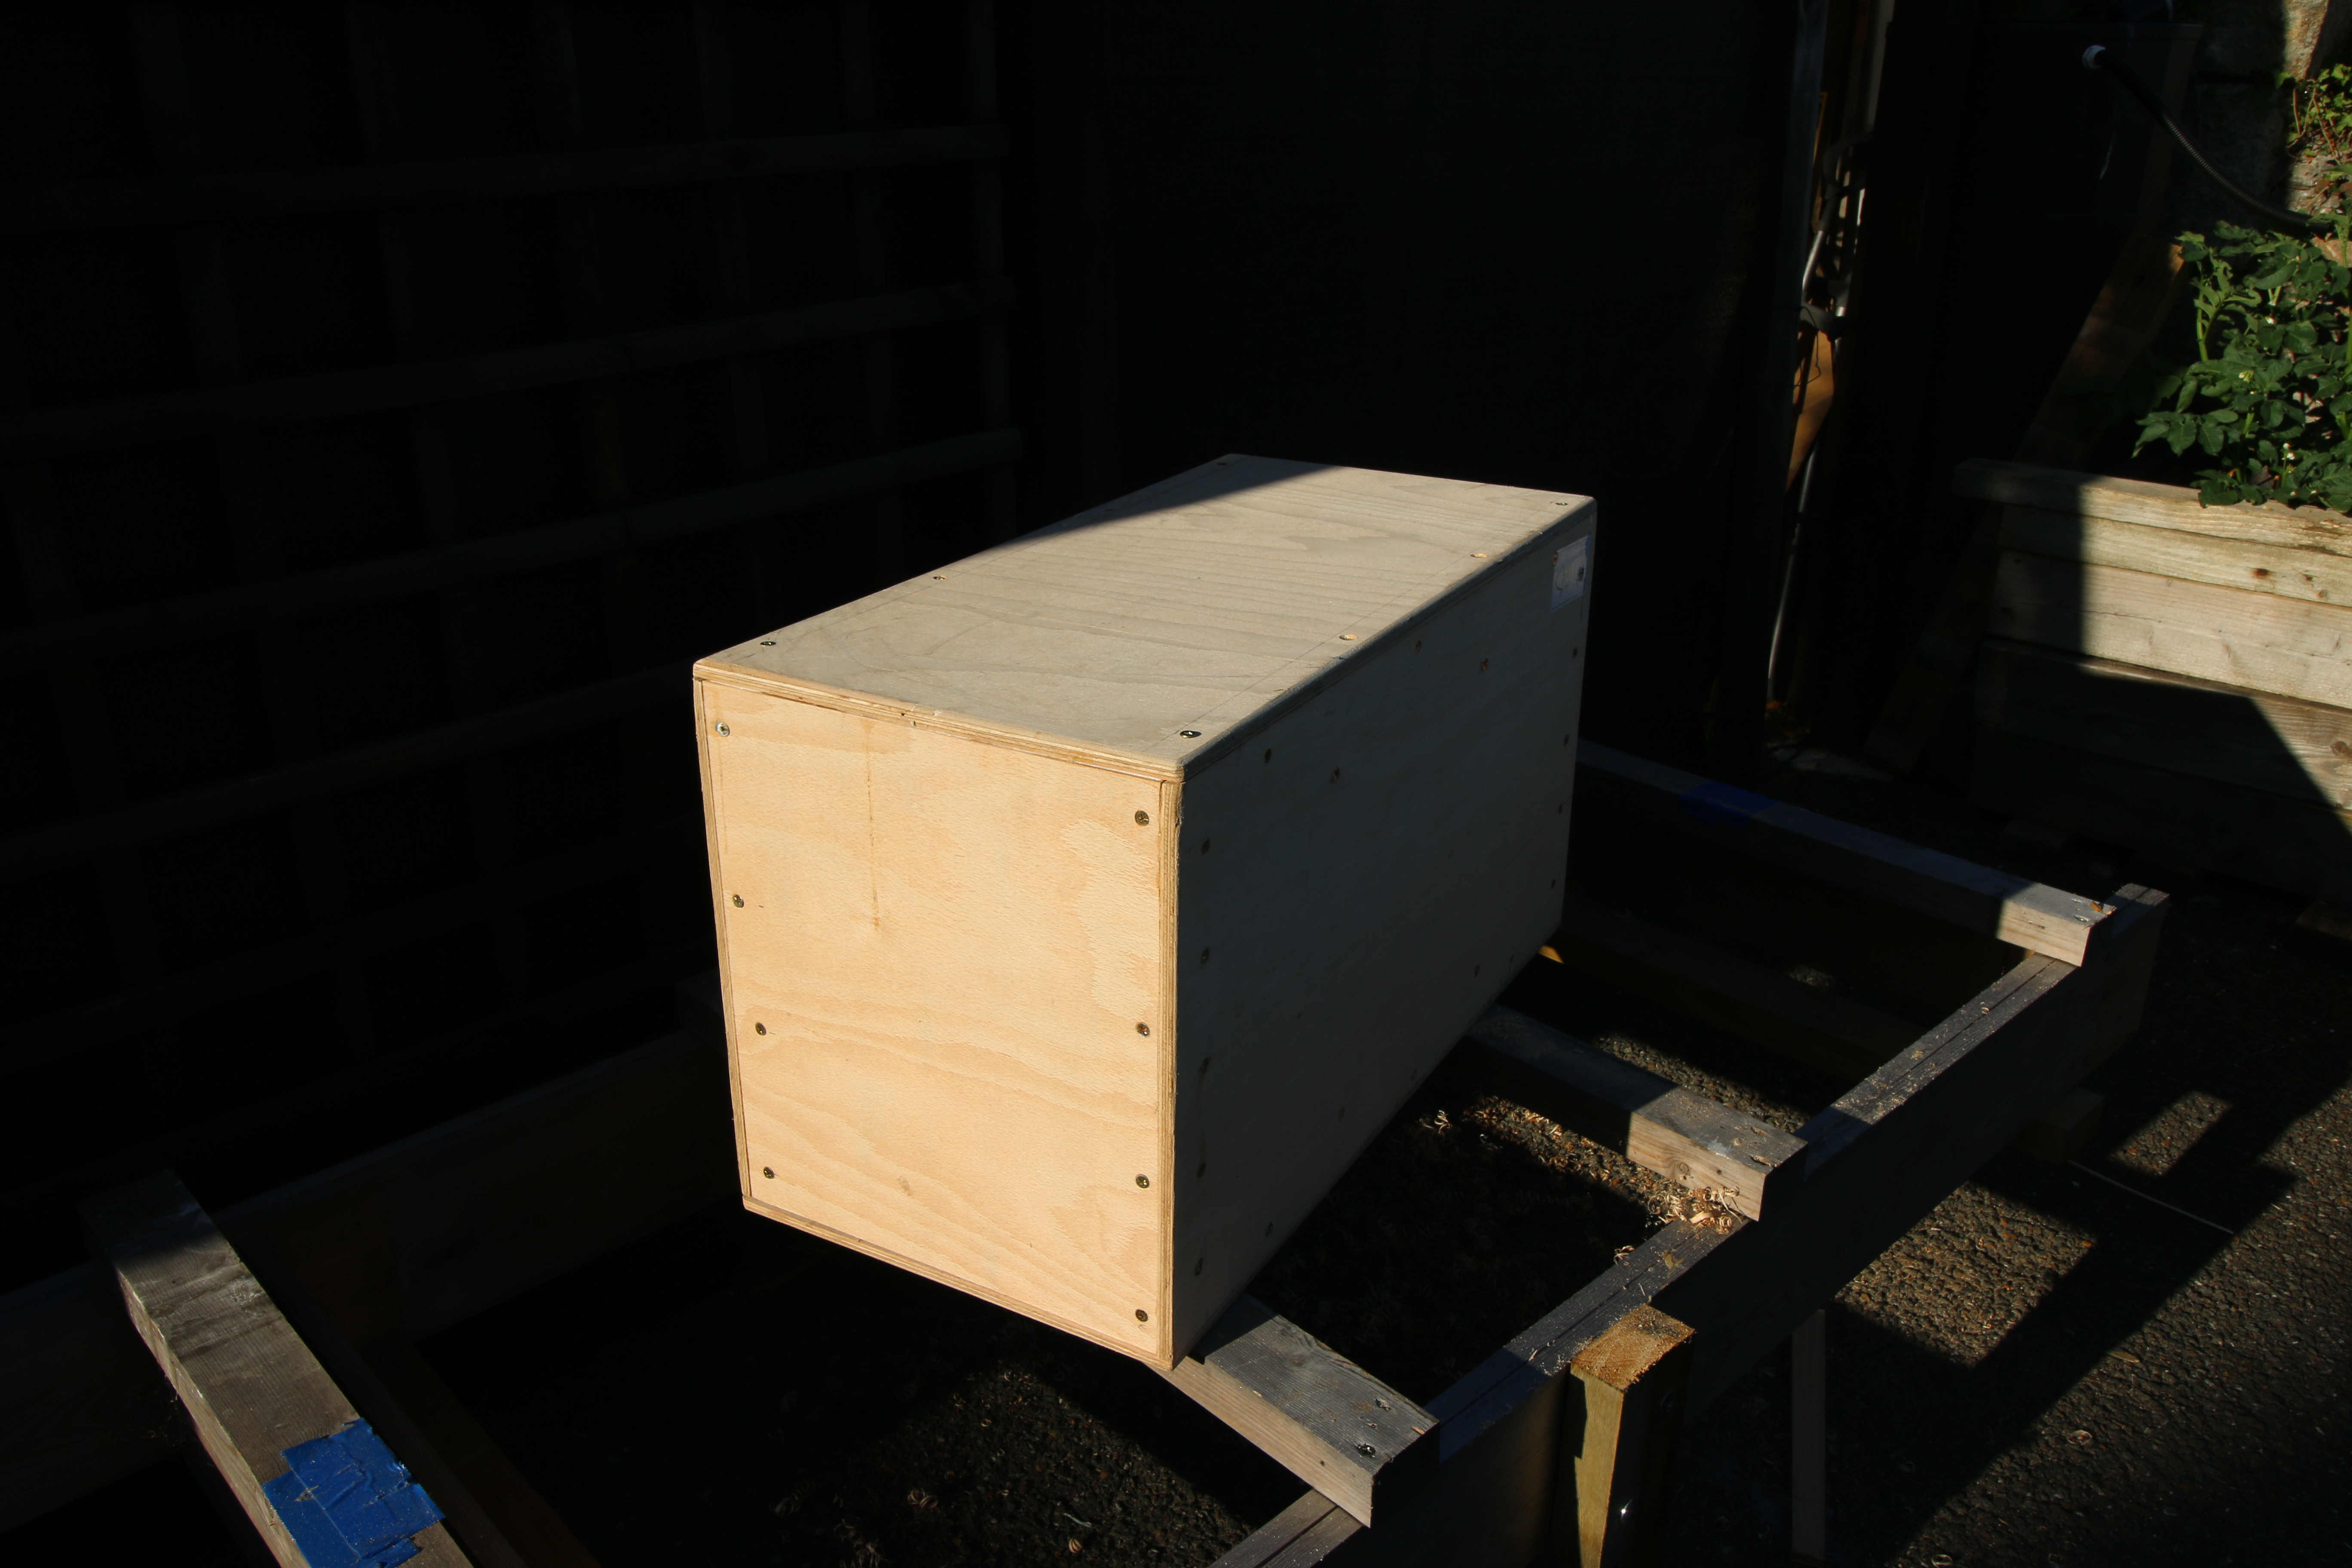
All the pieces have been cut out and sanded and checked for square-ness. Their dimensions as they should be. Well, I have to confess that is a 'first' on any wood work I have done. Strips are measured, cut and glued ready to form the side and shelf supports. Some are added to the base, clamped in place for thirty minutes whilst the quick setting glue starts its initial cure.


Side runners for shelves are added and one of the sides is stuck and taped in place. At every stage there is a dry run first; measurements are rechecked; the CAD is hauled over and my 'initial thinking' is checked or amended. As my Tanzania mountaineering friends were fond of saying 'Pole Pole', 'slowly, slowly'.
Well it took a whole day but here is where we pause. The 'galley box' saga will continue sometime this week.


6 comments:
Steve, what adhesive are you using?
Hi Paul - waterproof exterior - and screwed. Box will have 3 coats aluminium flake paint, 3 coats pre kote and then three coats toplac.
Hi, Steve, do you sell plans for your galley box?
What are the external dimensions?
How do you like your alcohol stove? Is it a Trangia?
Best,
Steve Keating
Steve - send me your email and i can send you a copy of an article i have ready for publishing which has all the details and plans. this website gives all the links about the building and on my youtube channel - look up plymouthwelshboy - you will find a video of the box in one of the playlists
https://arwensmeanderings.blogspot.com/search?q=galley+box
i love the trangia but i am very biased having used one for almost forty years now. there are better stoves out there i am sure but I like it and it has never let me down yet
steve
Hi, I checked Duckworks and your article with plans does not show up. I just ordered a Trangia 25 for my boat and wondered which stove you have and if plans are posted somewhere. Thanks, Ralph
Hey Ralph. I think some of the duckworks articles were lost when they did an internet provider switch over to a new website. Send me an email to sjparke44@gmail.com and I will send an article inside on building the galley box for the dinghy cruising association journal. That has some sketch drawings with dimensions. The trangia I use is the smaller version.
Post a Comment