So, after some thought and a look at available budget, (which by the way, was ZERO according to the boss SWMBO), I've gone for the one on castors.
Why? Because I actually have the timber, castors and screws required - so the cost will be, wait for it.......ZERO....thus I should gain 'brownie points' with the boss.
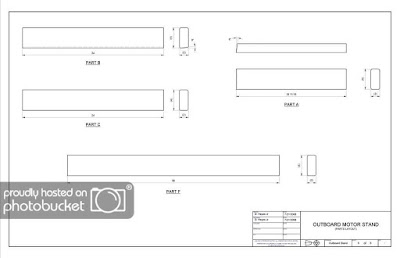
There were also some plans available on the internet similar to this picture below. I needed to do a little fiddling around with them and I will put an updated version of these plans on the blog in the next day or two.
So a pleasant afternoon has been spent with chop saw cutting the timber to the correct dimensions. There were some awkward angles to cut and two cuts had to be done by hand as faithful chop saw couldn't do them.
I've managed to build the back engine support so far. Next will be the mounting of this on the base frame and the adding diagonal supports and castor wheels.
Mine will look something like this one
It is based on the plans below but these need some altering
The above plans are good but there are odd measurements missing as far as I can work out
The timber - 2" x 4"
A pile of cut pieces building up
The uprights double pieces for strength and support
The engine upright support has a lean of 8 degrees off the vertical
As always, I've deviated from the plans - never learning the lesson from any previous disaster - here I've added an extra cross plank at the top where the outboard bracket will rest and tighten up on


No comments:
Post a Comment