Part 2
If you haven't yet read part one - access it here at https://arwensmeanderings.blogspot.com/2020/11/building-kentucky-stick-chair.html and it gives the links to the two websites I found most helpful and from which I got the dimensions for the chair.
This is my first attempt at a Kentucky Stick Chair and I am fairly pleased with it. There was odd bits of 'tear out' on the base of one or two of the holes I drilled - which had to be filled in with natural colour wood filler. probably because my drill bits were not sharp enough and because I didn't support the base of the piece being drilled sufficiently.
When you have assembled all the pieces and sanded them smooth, then do a dry run construction to make sure everything is in order before you start staining.
Assembly of all the pieces looks complicated but it isn't really. It just requires some systematic thinking, a slow pace and regular self checking.
Task one:
Assemble the various pieces as above. Now I used 12mm sisal instead of wire rods. I taped over the cut ends with electrical tape for a depth of around 5 cm which made them easier to insert into and pull through the drilled holes. You need a flat area to do this, either a large work bench or a clean floor with an old duvet on it to protect the untreated wood.
The two diagrams below show the initial assembly steps in a slightly different way. Don't worry about how long the sisal ends are, you will trim and whip these at the very end of the final assembly. Just make sure that you cut the sisal to a length that leaves around 10" at each end (as you will need to give things a very firm pull to tighten and bunch sticks up at the end).
Firstly take the above pieces of wood and link them onto the sisal through the top holes - these are the ones which are 1 1/2 inches down from the top of each wood piece.
Secondly attach the 'couplers'. These are the very short pieces. Align the top holes of the couplers with the lower holes of the seat pieces and thread through some more sisal. Remember to leave plenty of spare at each end.
Task two:
Now it is time to assemble the back of the seat, arranging the pieces as in the diagram above. Again, make sure you leave plenty of 'spare end'.
The next task is less complicated than it actually looks . Lift the back of the seat section you have just done above and lay it over the seat section you did earlier. Make sure you align it all correctly - use the short coupler positions to help you. The photo below the diagram will help you visualise it better.
Having done this - now comes the harder part - putting the couplers into the correct spaces and making sure all the holes line up. I found the easiest way was to actually do one coupler at a time, threading it onto the sisal and then pushing the sisal through the next piece of wood and onto the next coupler. Just go methodically and slowly.
You should end up with something that looks like this. Four pieces of sisal threaded through and everything nice and loose.
Now comes the 'energetic' bit. You are going to be pulling the sisal and pushing the various wooden pieces together to get the basic structure and shape of the chair.
Firstly, I loosely knotted the left hand side of the top line of sisal in an overhand knot - tied tight up against the hole in the outer most piece of wood. I then lifted the chair upright by simply grabbing each end of the top line of sisal at the top of the upper chair back. The weight of the chair lightly resting on its legs started to pull the sticks together in the direction of the knot on the left hand side and when they were all tightly snugged up, I tied off the other end in a similar overhand knot. Try not to let any slack appear between the sticks when you are doing this.
As you can see below, the chair started to take shape.
The second bit was to then do the same procedure with the next line of sisal down and then the next and so on. On each occasion you are aiming for snug but not overtight between the various wooden pieces and overhand knots each end that are actually very snug up against the outer pieces of wood.
Now remember, resist the temptation to trim any of the sisal at this stage UNLESS you are going for the untreated, bare wood look, in which case you can trim your sisal rope ends.
Task four:
As I indicated above, task four depends very much on whether you want to leave the chair as smooth, untreated bare wood or not. If you do, then it is time to trim the sisal ends. this is a matter of personal choice as to how long a 'tag' you leave after the overhand knot. I left around 3.5 inches. What is of critial importance is how you finish the sisal rope end. You could just tape them. Or you could finish them in a proper seamanship rope end whipping, which is what I opted to do.
I could have used sail twine for this - the white sail thread that comes on spools of various thicknesses. I found the white too harsh against the warm oaty colour of the sisal rope and so opted for light brown waxed thread instead. The whipping thus blended in better.
This website here shows how I finished the rope ends.
I'm used to doing whippings on ends of fraying mooring warps and so I found it easy. If you are unfamiliar with the technique, practise a few times on an offcut of sisal until you get it right. Use a knitting needle to prise open the strand of sisal so that you can thread the whipping twine through more easily. Sailors would use a fid!
Task four alternative:
You may want to stain your chair like I did. It will necessitate taking the chair apart again. I used Ronseal exterior stain - antique pine - 10 year guarantee and I gave the wood three coats, allowing 24 hrs between each coat and making sure I rubbed down each piece very lightly with 120 grit sand paper before applying the next coat. penetration and colour depth proved excellent. However, I did get a few runs which were hard to get rid of. I think this may be due to the way I hung the wood on wire. the staining bit was the least successful part of the whole adventure as far as I am concerned and I need to rethink how I go about it for next time.
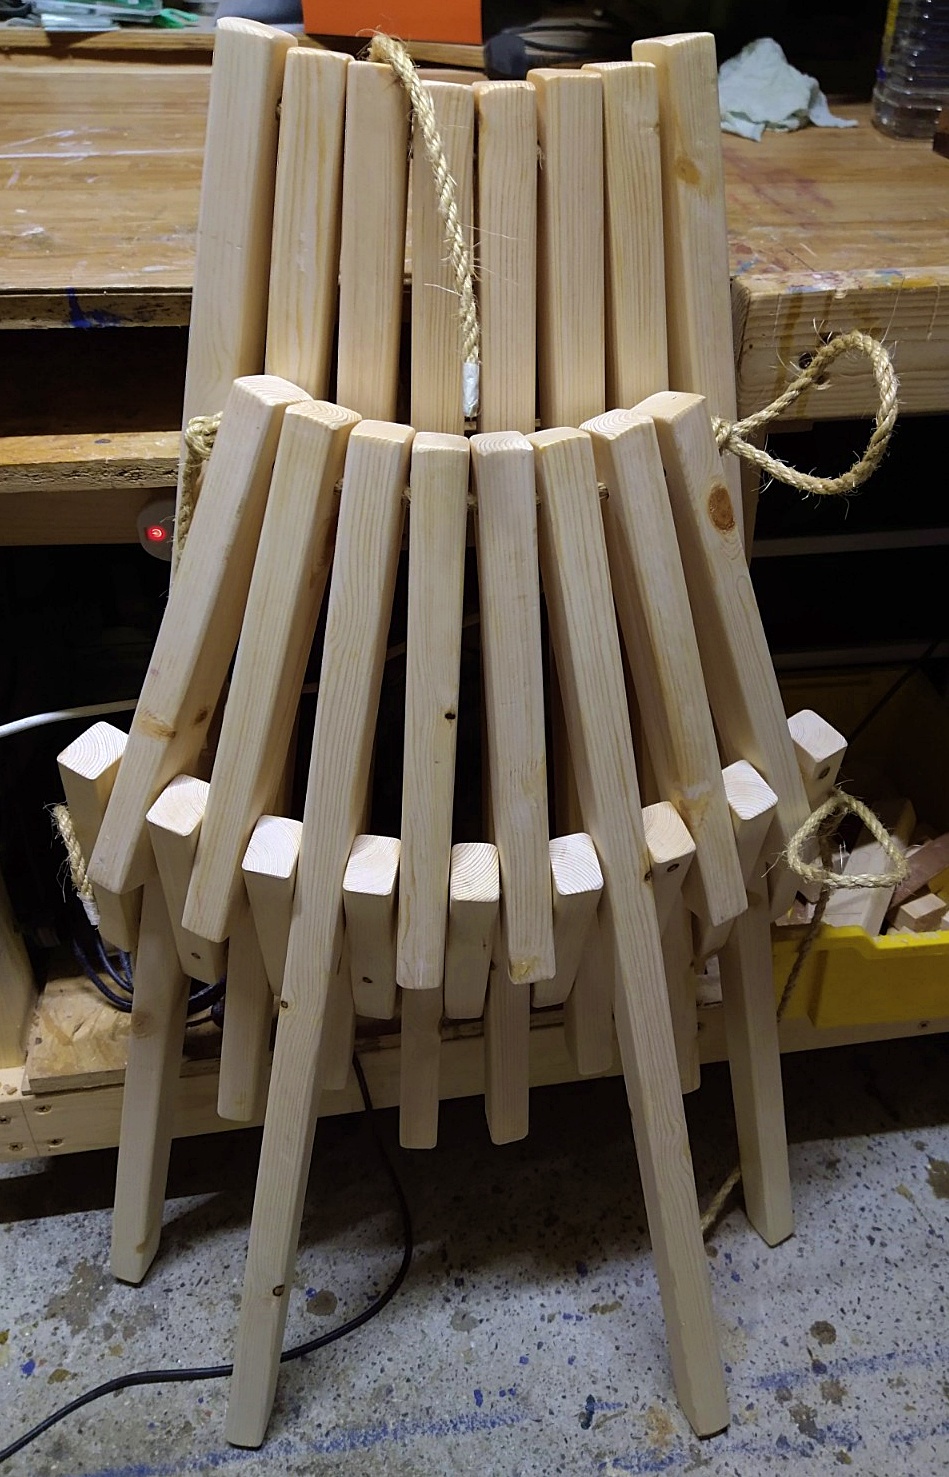
The chair tightened up and about to be unfolded
Such a great feeling to see all your hard work emerging into a proper chair shape
The chair in its folded storage position
The least successful bit of the project as far as I am concerned, getting the stain done properly
Three coats later a deep rich colour but you can see some annoying blobs and dribble runs
In the warmth of the living room, the trimming and whipping of sisal rope ends begins.
Making outdoor fabric cushion and head rest are the next projects
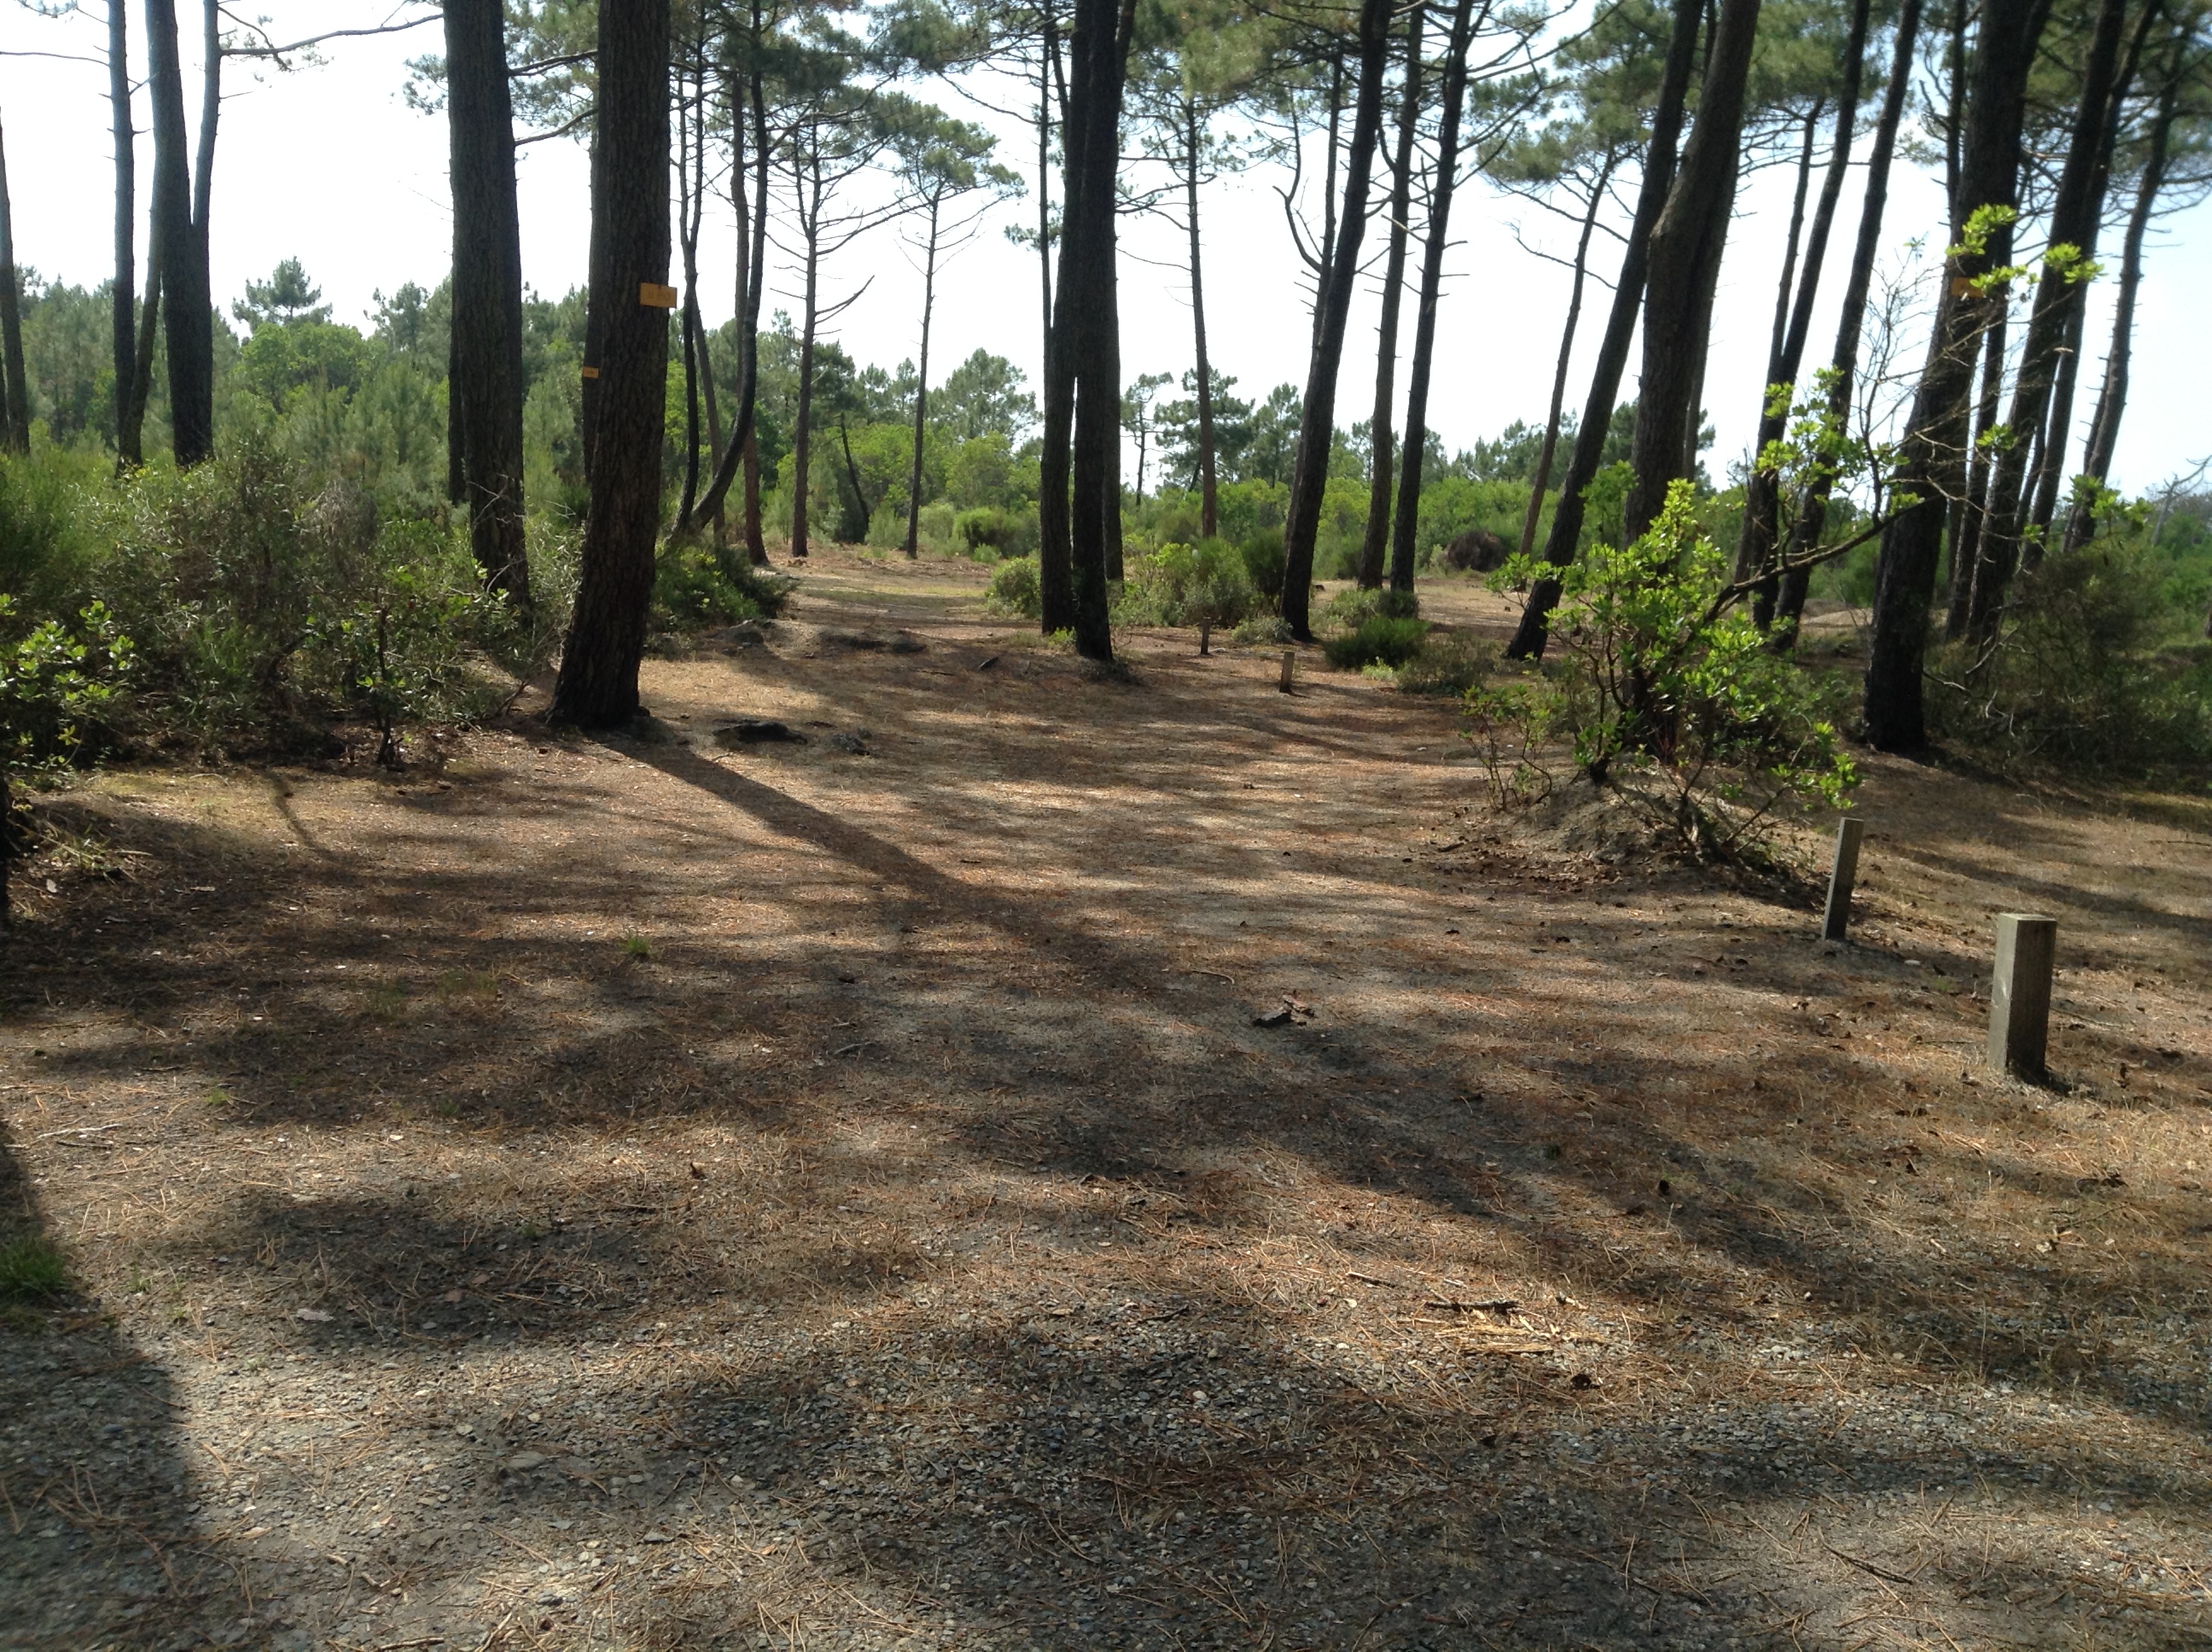
Looks quite at home in a very soggy and dreary bee garden
So what were the costs of this project?
£30 bought me enough timber to make two chairs
£15 bought me sufficient 1/2" diameter sisal with some spare
£15 for the tin of stain which will do around four chairs and a table
So each chair, roughly, has cost me around £30 max.
I'm currently in the middle of doing chair two. I have to work out a design and then construct a small coffee table. I couldn't find any plans on line for this. I still have the sets of cushions and head rests to make. These will be done over Christmas.


3 comments:
I won't believe you until I see someone sitting in it! :o))
I am wondering if you found these chairs comfortable? Do you still use them?
Thank you,
Kevin
Hi Kevin. Yes as long as you are fairly mobile as they are 'a long way down' into them. I use the two cushions and can adjustment to get comfortable. Use them around our fire pit and also when resting during stargazing sessions from a local beachside car park
Post a Comment